App Center Test is a test automation service for native and hybrid mobile apps, also known as Test Cloud. Tests written using supported frameworks can be run with little modification on hundreds of unique device model and operating system configurations hosted in a Microsoft data center. Initiate test runs using the App Center Command Line Interface or the public REST API. App Center stores test results, including all associated media assets, for viewing at any time.The requisite steps below must be completed before a project can be used with App Center Test.
Note: Those steps refer to the Android implementation of the Xamarin Forms app, but for iOS it is almost identical.
1. Create an App Center account
- Navigate to appcenter.ms
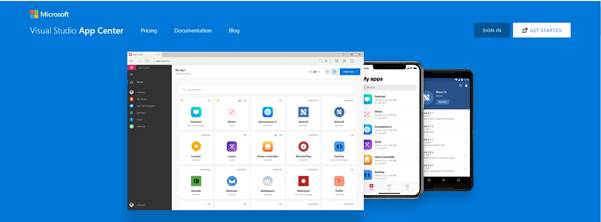
- Click on Button ‘SIGN IN’
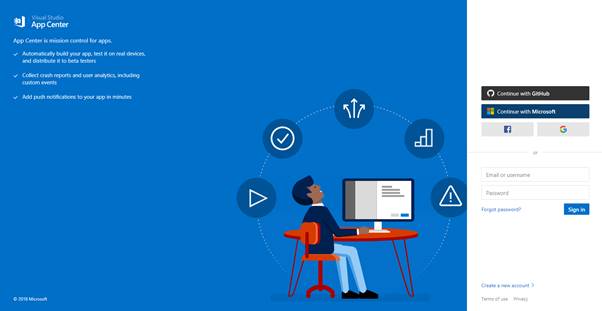
As you can see, you can login with existing accounts of for instance Microsoft or create a new one. I want to make use of my Microsoft account so the ‘Continue with Microsoft’ button is pressed.
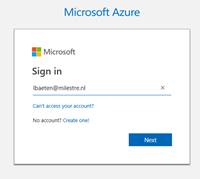
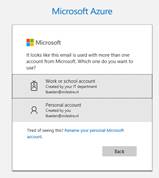
- I will login with my Personal account, so that is what is selected.
2. Install the App Center CLI
Create npm account
App Center CLI requires node.js version 8 or better and npm, but npm will be installed during installation of node.js. In the installation documentation of App Center CLI is mentioned that you need an account in https://www.npmjs.com, but I am not sure if this is neccessary.
However I created an account in https://www.npmjs.com.
Note: After the account creation you have to verify your email address.
Install node.js
You can download Node.js from the nodejs.org website: https://nodejs.org/en/download/
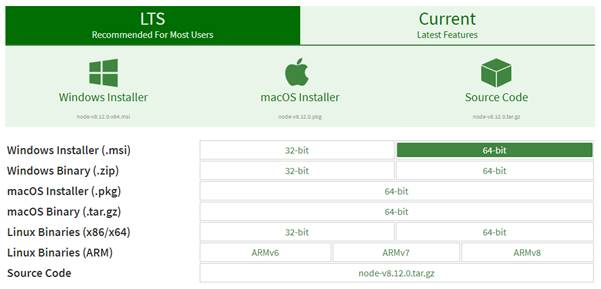
I downloaded the windows installer 64-bit and installed it after download. The installation process is straightforward, so no extra installation instruction is mentioned here.
Install App Center CLI
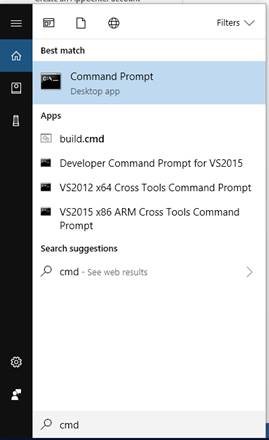
- Run a command prompt as Administrator. Search for cm in Cortana, click Right Mouse button on the found application and select: Run as administrator.
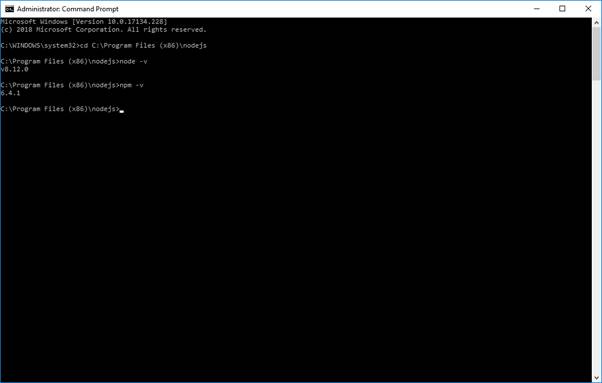
- In the command prompt, navigate to the directory where node js is installed. For me it is the default: C:\Program Files (x86)\nodejs.
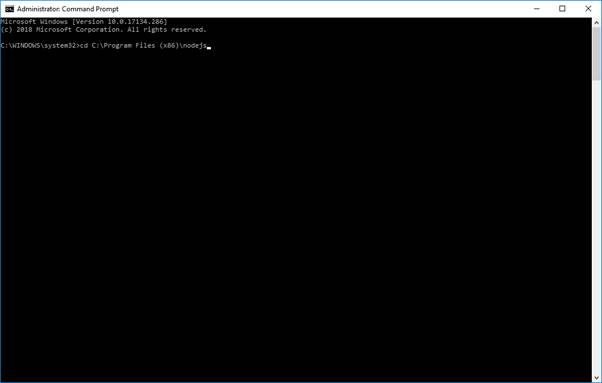
- There you can test the version of node.js (Type: node –v ) and npm (Type: npm –v )
- To install App Center CLI, type npm install -g appcenter-cli in the command prompt.
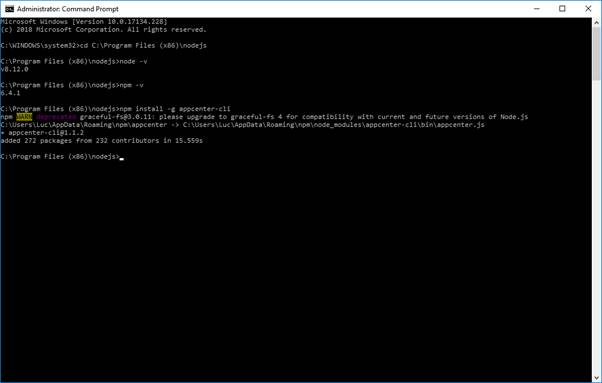
Now you are ready to make use of App Center CLI
3. Create an app in App Center
- On the website https://appcenter.ms/ login with you Appcenter account.
- Create a new organization or select an existing one. We select the organization TenCate.
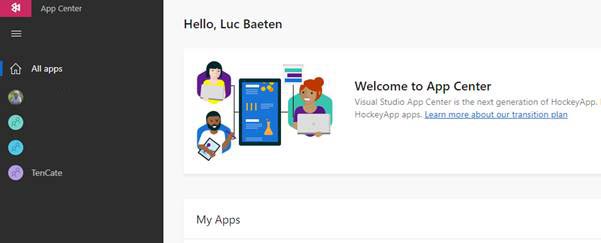
- Create a new app by clicking on button Add new app in the right upper corner

- Define a Name, Select OS and Platform and click Add new App. The app is now created.
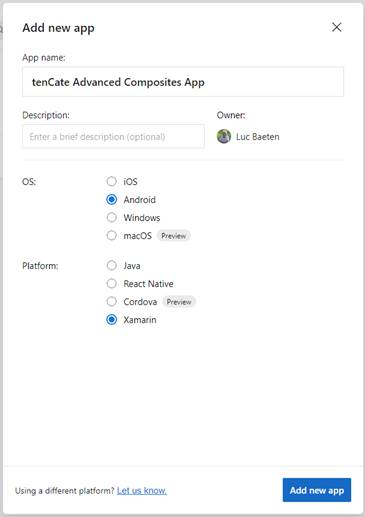
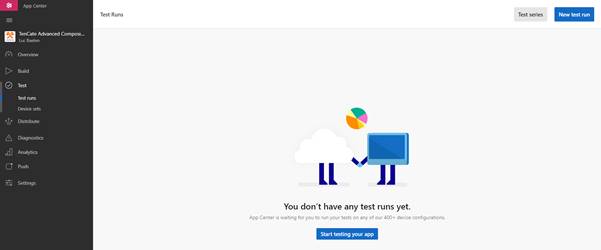
- Click on the new created app and select the menu item Test.

4. Prepare the test settings
Define Android properties
Before we are going to create a test we first start with the definition of a list of devices we want to test. When we are looking at the most used platforms for Android we see that we need to focus on platform versions above 4.3.
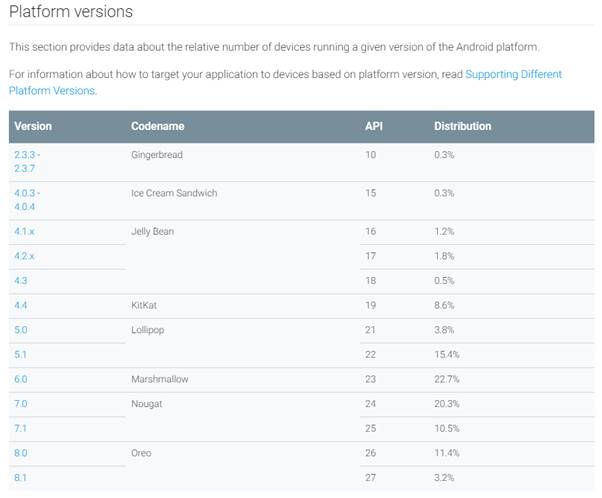
So from version 4.4 (KitKat) is what we have to support by our app:
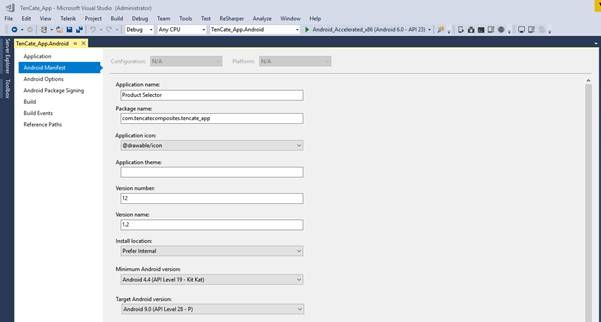
- Open the Properties of the TenCate_App.Android project. You should see the following screen.

- Select the Target Framework: Android 9.0 (P)
- Now go to Android Manifest item. As we saw above, the minimum Android version we need to support is Android 4.4. So that is what we select in the list ‘Minimum Android version’
- If not done already compile and build the release. For now we don’t go into details on this.
Specifing device group
- Select Device sets in Appcenter Test.
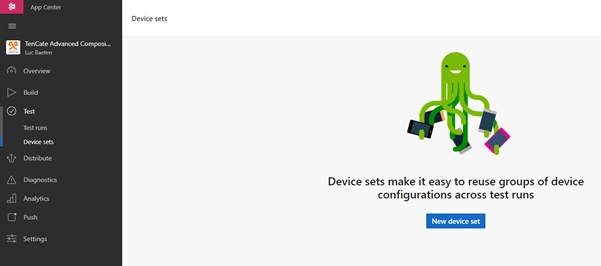
- Click the ‘New device set’ button
- As we support Android version 4.4 and above we will select correspondent devices (phone as tablets) in the available device list
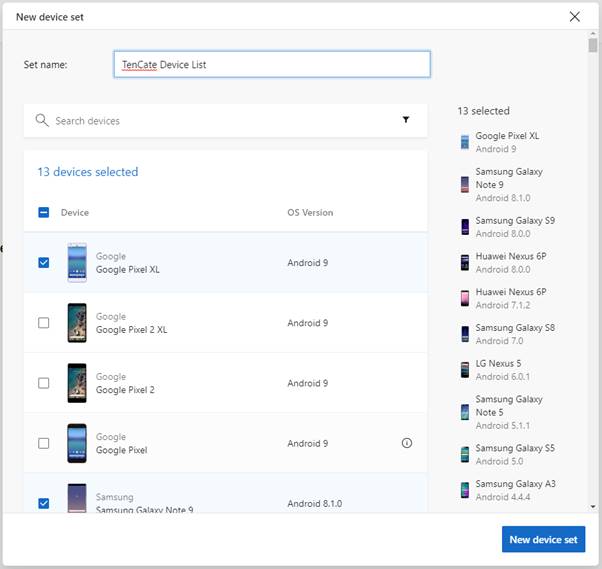
- Click on ‘New device set’ button.
- We will see the list of devices we selected.
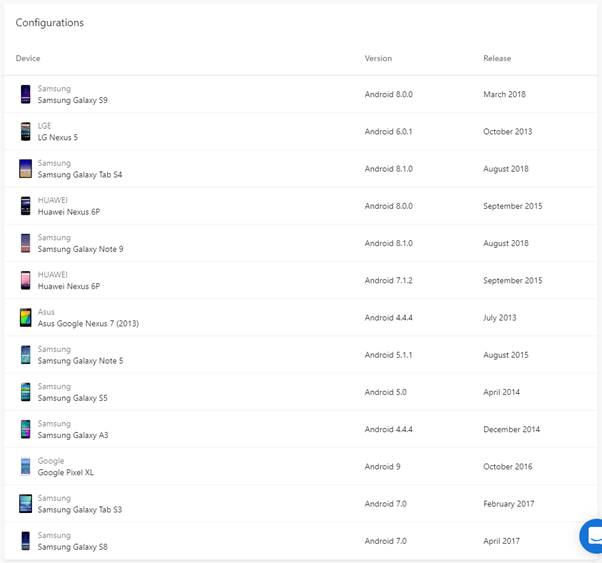
Other Pre-requisities
Running Xamarin.UITest on Windows requires setting the ANDROID_HOME environment variable with the path to the Android SDK.
To prepare a Xamarin.Android app and UITest for submission to App Center for Test:
- Ensure that the app requests the INTERNET permission.
- Create a release (signed) build (not a debug build).
5. Prepare the project for upload in Microsoft AppCenter Test
Create your first test run
- Click on ‘New test run’ button in the right upper corner

- Select the devices you want to run the test on. We can select our devices configuration ‘TenCate Device List'
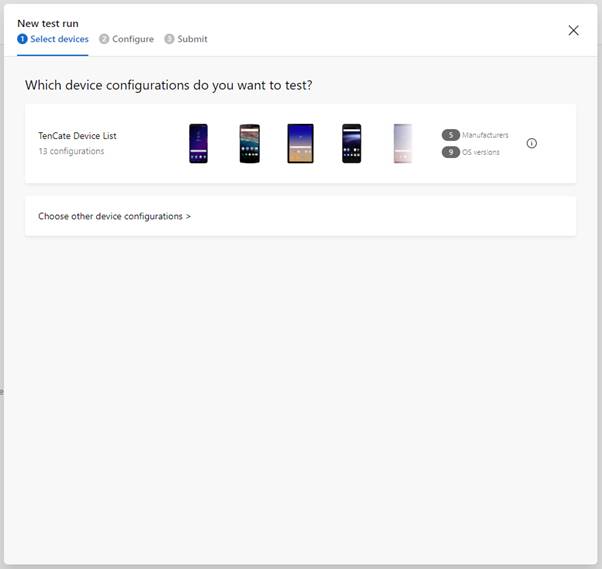
- Select the ‘Test framework’
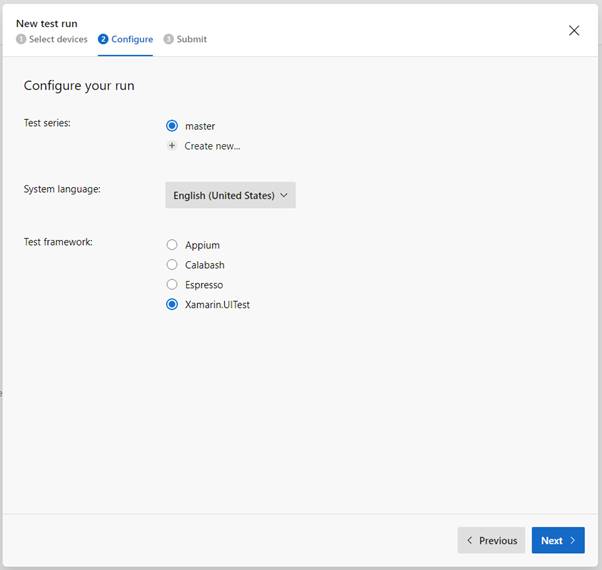
- This will show you the commands to run tests
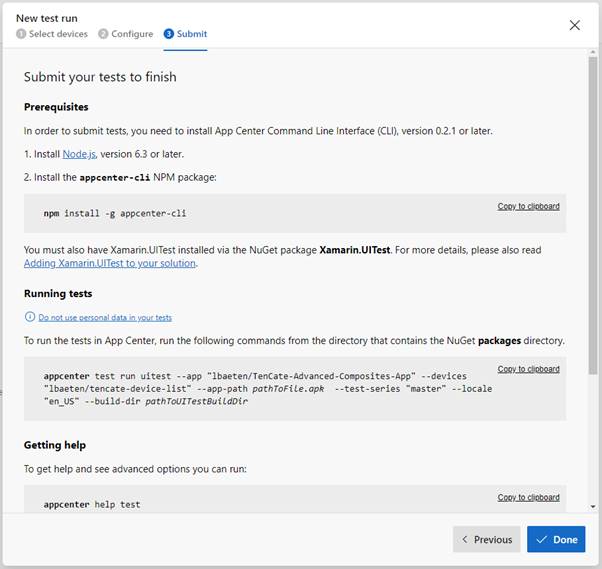
The template for this command looks like:
appcenter test run uitest --app "[dir of iOS project]" --devices d675398e --app-path [Dir of IPA file] --test-series "master" --locale "en_US" --build-dir [Dir of UITEst project] --uitest-tools-dir [Dir of tools]
For the specific app here We have to exchange pathToFile.apk and pathToUITestBuildDir and have to add the path to test-cloud.exe via parameter --uitest-tools-dir.
For TenCate the test command would look like :
appcenter test run uitest --app "lbaeten/TenCate-Advanced-Composites-App" --devices "lbaeten/tencate-device-list" --app-path C:\Temp\tencate\tencate_app.apk --test-series "master" --locale "en_US" --build-dir C:\Development\DotNET\TenCate_App\TenCate_App.UITest\bin\Release --uitest-tools-dir C:\Users\Luc\.nuget\packages\Xamarin.UITest\2.2.5\tools
Note: Our signed apk was copied into the directory c:\temp\tencate.
Note: the path where you reference to for --uitest-tools-dir must correspondent with the package you use in your UITest project. As we saw earlier in paragraph ‘Checking Nuget packages’ we make use of version 2.2.5. So that is the path that we should use in our appcenter test call as well.
- Now start the command prompt again and run it as Administrator:
- Navigate to the directory where you installed nodejs.
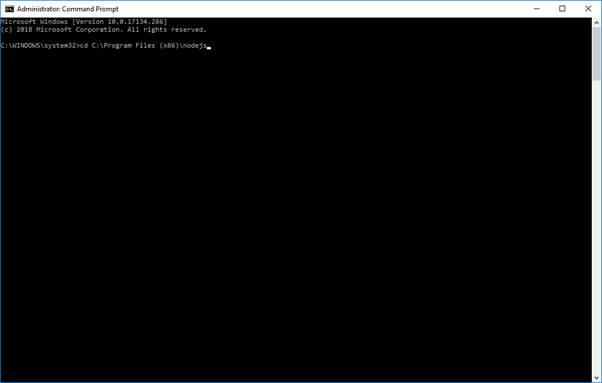
- Copy the above appcenter test command into the command prompt and start it.
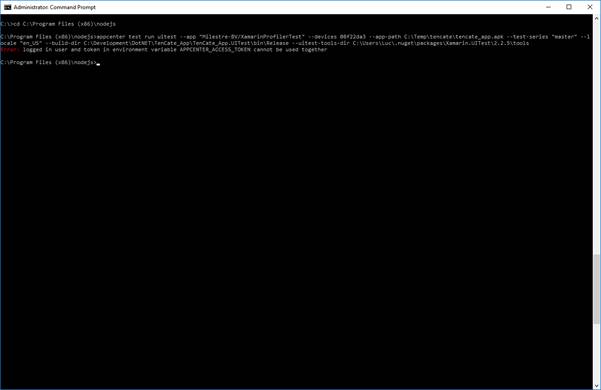
- When you got the error that logged in user and token don’t belong to each other, then login first:
Type: appcenter login. You will be navigated to a browser window to login into AppCenter and generate a token.
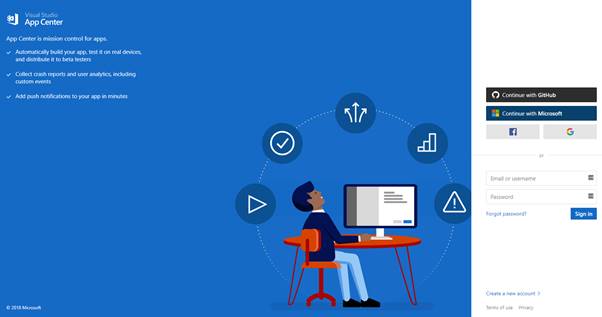
- Login with Microsoft account
- After authentication you will see your token:
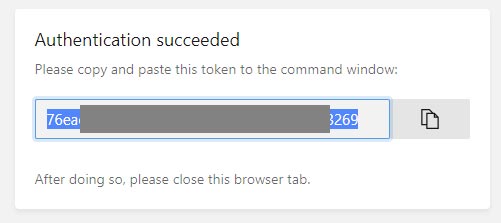
- Copy this in the command prompt and go further
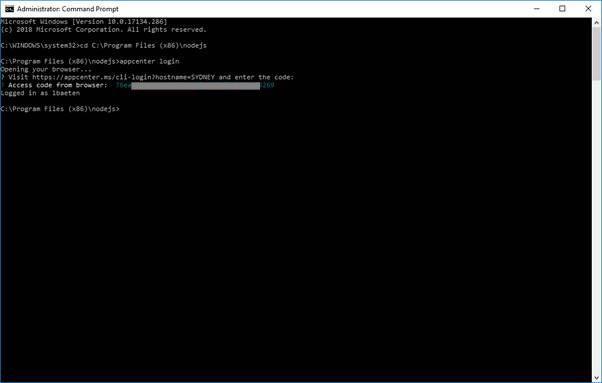
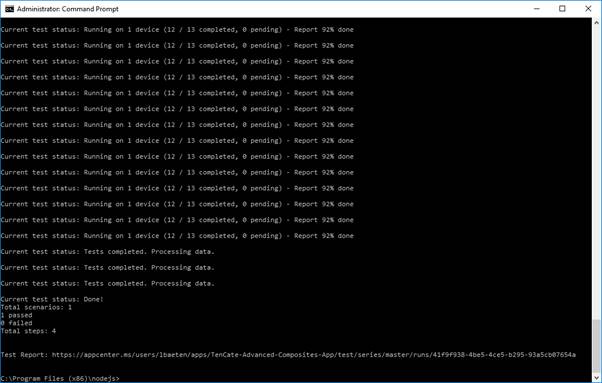
- Now you are logged in so start the command again: when everything is fine the test is configured.
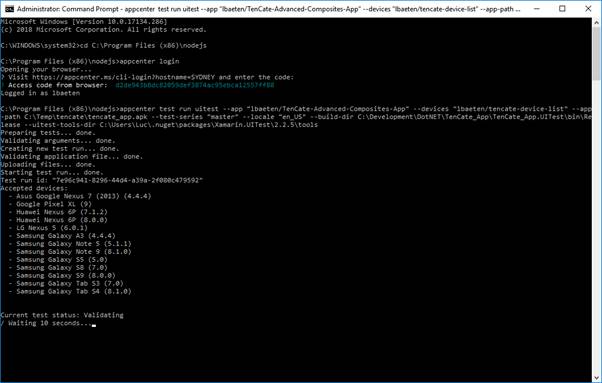
- Now wait till everything is defined, in our case we have to wait for 13 devices to complete.
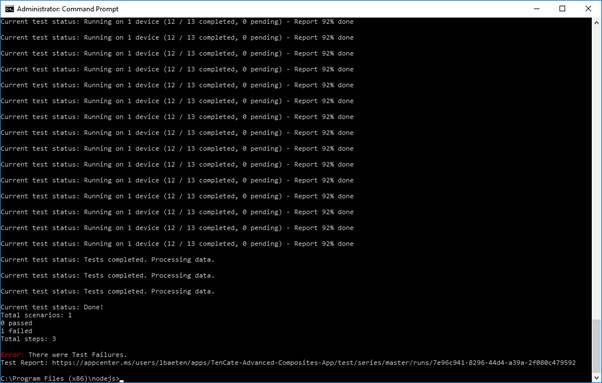
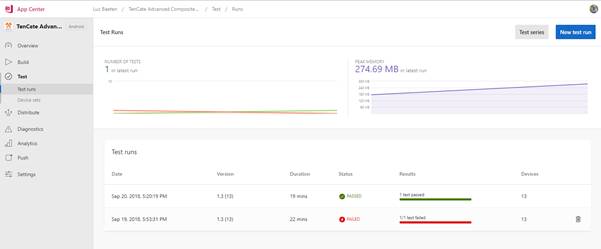
- We can see that our test failed. We have to investigate the test in depth in Appcenter Test:
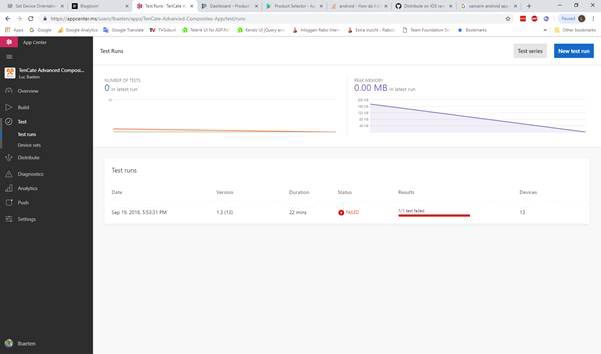
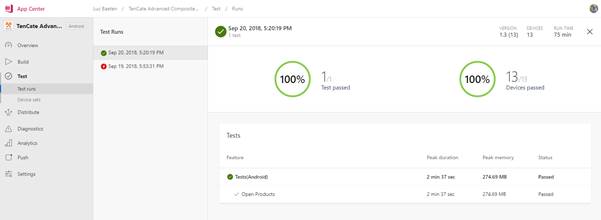
- Open the failed test

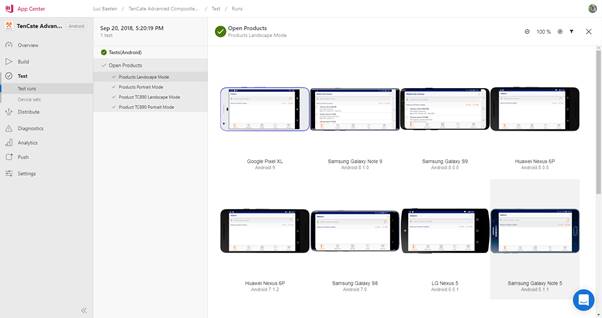
- Select ‘Open Products’
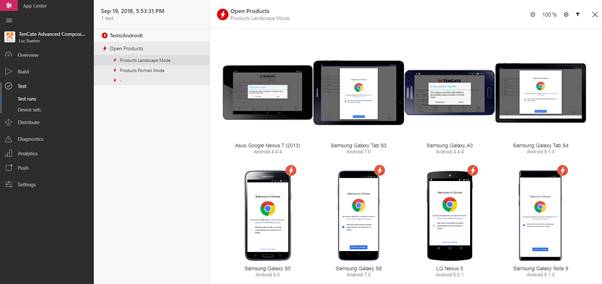
- Open detailed information of different devices shows us that besides the app also Chrome is started or a popup with ‘in-app updates disabled’ is shown.
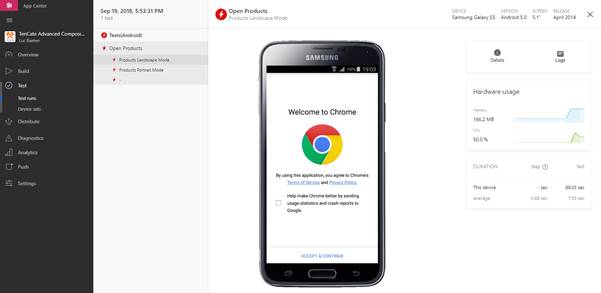
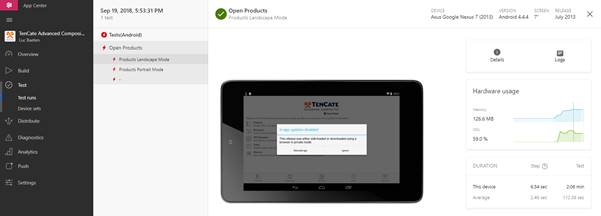
Because of chrome or the popup the test will fail because they don’t recognize the ‘ProductsButton’ on the screen
The reason of the presentation of chrome or the popup is the call to AppCenter.Start in our App.xaml.cs:
protected override async void OnInitialized()
{
try
{
//To make StaticResources work when defined in App.xaml, we have to make this call
InitializeComponent();
// Handle when your app starts
AppCenter.Start("ios=82cxxxx-xxxx-xxxx-xxxx-xxxxxxxxed8c;" +
"android=ab41xxxx-xxxx-xxxx-xxxx-xxxxxxe20b",
typeof(Analytics), typeof(Crashes), typeof(Distribute));
var navigationParams = new NavigationParameters {{"Download", true}, { "InitProducts", true } };
await NavigationService.NavigateAsync("/MainNavigationPage/MainPage", navigationParams, animated: false);
}
catch (Exception ex)
{
Crashes.TrackError(ex);
}
}
- So to make the test successful in AppCenter we have to comment it out in our code during the test:
protected override async void OnInitialized()
{
try
{
//To make StaticResources work when defined in App.xaml, we have to make this call
InitializeComponent();
// Handle when your app starts
//AppCenter.Start("ios=82cxxxx-xxxx-xxxxx-xxxx-xxxxx63ed8c;" +
// "android=ab4xxxxx-xxxx-xxxx-xxxx-xxxxx25e20b",
// typeof(Analytics), typeof(Crashes), typeof(Distribute));
var navigationParams = new NavigationParameters {{"Download", true}, { "InitProducts", true } };
await NavigationService.NavigateAsync("/MainNavigationPage/MainPage", navigationParams, animated: false);
}
catch (Exception ex)
{
Crashes.TrackError(ex);
}
}
- Build the app again, Archive it and rund the appcenter test call again. We will see that it now passes the test.
